Creating a beautiful outdoor space can enhance your home’s appeal and increase its value.One popular way to do this is by adding a patio. However, before you start laying bricks or pouring concrete, it’s crucial to understand the permitting process that may apply to your project. Here’s a comprehensive guide to help you navigate the often-confusing world of patio permits.
What is a Patio Permit?
A patio permit is an official approval from your local government that allows you to construct or modify a patio on your property. This permit ensures that the construction complies with local zoning laws, building codes, and safety regulations patio builders. Depending on your location and the specifics of your project, obtaining a permit may be required for various patio types, including those that are freestanding, attached to the house, or include structures like roofs and walls.
When Do You Need a Permit?
While regulations vary by jurisdiction, here are common scenarios where you will likely need a permit:
- Size and Scale: If your patio exceeds a certain square footage (often around 200 square feet), a permit is usually required.
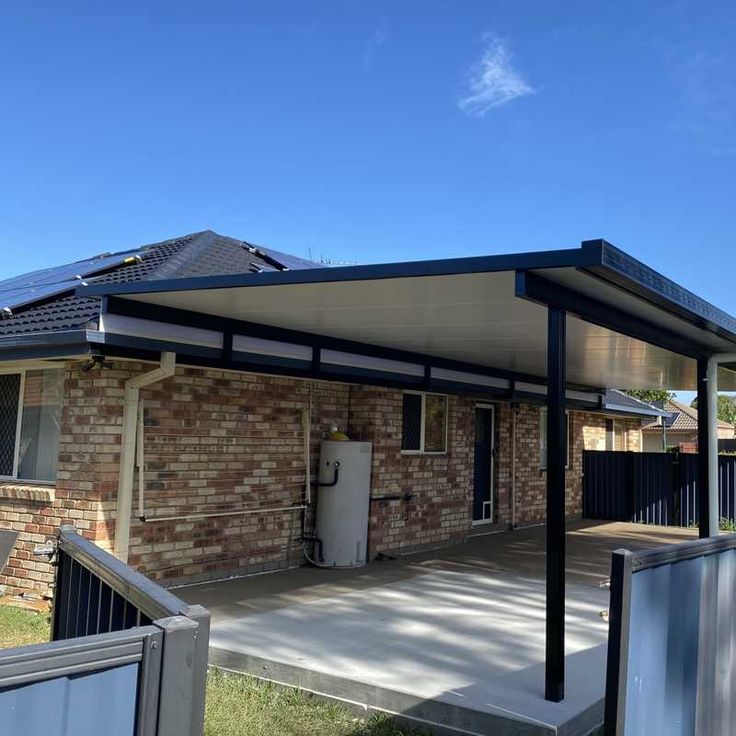
- Permanent Structures: If your patio includes built-in features such as a fire pit, outdoor kitchen, or roof, you will typically need a permit.
- Zoning Regulations: If your patio encroaches on property lines, easements, or protected areas, a permit is necessary to ensure compliance with local zoning laws.
- Changes to Existing Structures: If you are making significant alterations to an existing patio or connecting it to your home, you may need to secure a permit.
How to Apply for a Patio Permit
The process for applying for a patio permit generally involves the following steps:
- Research Local Regulations: Start by checking your local government’s website or visiting the planning and zoning department. Regulations can vary significantly between cities and counties.
- Prepare Your Plans: You may need to provide detailed plans that include the size, location, and materials of your patio. Having professional blueprints can help expedite the process.
- Submit Your Application: Complete the necessary forms and submit your plans along with any required fees.
- Await Approval: After submission, the local government will review your application. This process may take anywhere from a few days to several weeks, depending on the jurisdiction.
- Schedule Inspections: If approved, you may need to schedule inspections during and after construction to ensure compliance with building codes.
Common Pitfalls to Avoid
- Ignoring the Rules: Some homeowners skip the permitting process, thinking it’s unnecessary. However, this can lead to fines, the need to dismantle your patio, or difficulties when selling your home.
- Underestimating Costs: Permitting fees, potential zoning changes, and other associated costs can add up. Make sure to factor these into your budget.
- Neglecting Professional Help: If your project is complex, consider hiring a contractor or architect familiar with local regulations. Their expertise can save you time and trouble.
Benefits of Obtaining a Patio Permit
- Legal Protection: A permit provides legal assurance that your project complies with local laws, protecting you from potential future legal issues.
- Increased Property Value: Properly permitted structures can enhance your home’s value and appeal to potential buyers, as they know the construction meets safety and regulatory standards.
- Peace of Mind: Knowing that your patio is built according to code can give you confidence in its safety and longevity.
Conclusion
Building a patio can transform your outdoor living space, but navigating the permitting process is essential for a successful project. By understanding when permits are needed, how to apply, and the benefits they provide, you can ensure that your new patio is a beautiful and compliant addition to your home. Always consult with local authorities to get the most accurate information for your specific situation, and happy building!